
Common Reasons HGVs Fail MOT – and How to Avoid Them
Every year, thousands of HGVs and trailers in the UK receive an MOT failure notice. According to DVSA statistics, brake-related issues alone account for a significant portion of failures, followed closely by lighting, tyres, suspension and emissions problems. A failed MOT doesn't just mean a re-test fee — it can lead to vehicle prohibitions, lost haulage days, fines, and in severe cases, operator licence points.
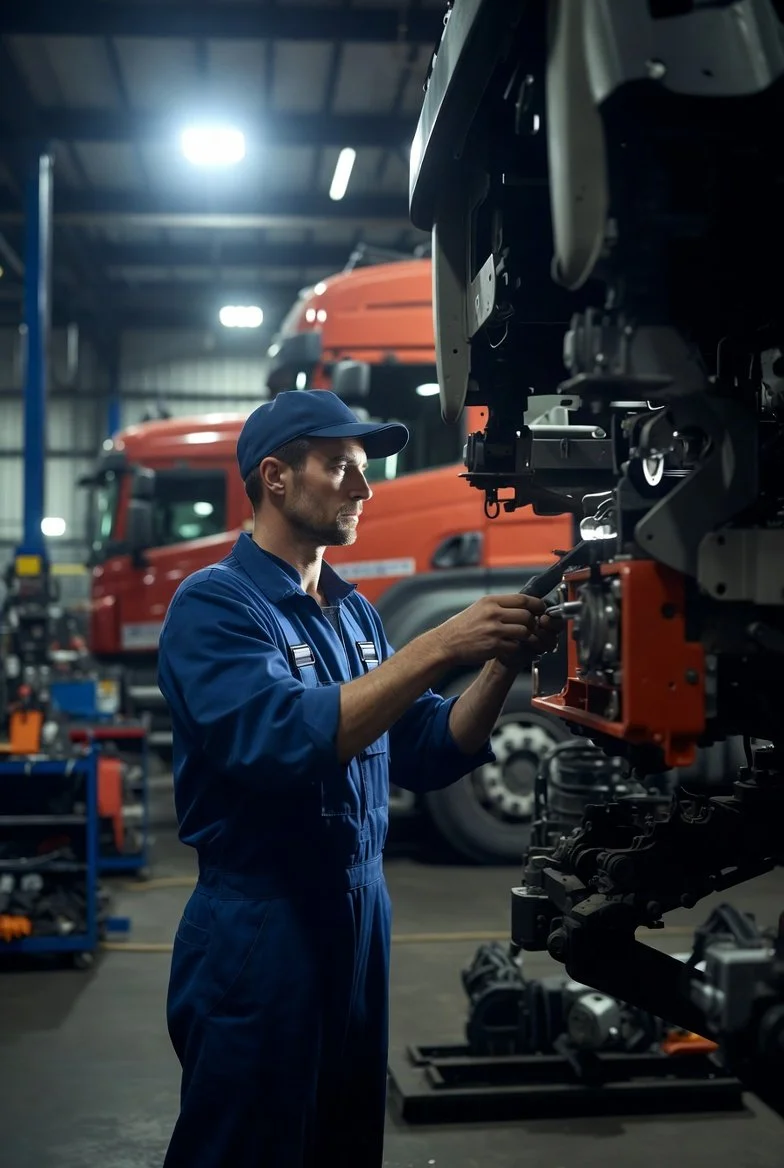
At Burton UK Commercials LTD, we see the same preventable issues repeatedly. The good news? Most failures can be avoided with proactive maintenance and a proper pre-test inspection.
This guide highlights the most common HGV MOT failure reasons (based on DVSA published data and our workshop experience) and gives practical steps to help you pass first time.
1. Brake Performance & Components (The #1 Failure Category)
Why it fails
Service brake efficiency below minimum
Parking brake (handbrake) not holding
Imbalanced braking across axles
Leaking brake lines, seized calipers, worn pads/shoes, contaminated linings
ABS/EBS faults or warning lights illuminated
How to avoid it
Perform a laden roller brake test at least 4 times per year (DVSA strongly recommends this frequency for commercial vehicles).
Carry out visual brake inspections every 4–6 weeks — check pads, discs/drums, hoses, and adjusters.
Listen for unusual noises during braking and address them immediately.
Never ignore an ABS warning light — have the system scanned and fault codes cleared before test day.
Burton tip — Our mobile brake testing service brings the roller brake tester to your yard, so you don’t lose a day driving to a test station.
2. Lamps, Reflectors & Headlamp Aim
Why it fails
Missing, broken or non-working lights (headlights, brake lights, indicators, side markers, rear fog)
Headlamps aimed too high/low or misaligned
Incorrect colour (e.g., white instead of amber indicators)
Condensation inside lamp units
How to avoid it
Carry out a daily walk-around light check — get someone to help test brake lights and indicators.
Clean all lenses regularly — dirt reduces brightness and can cause dazzle or failure.
Replace any cracked or foggy units early — condensation is a sign of seal failure.
Have headlamp aim checked and adjusted during your pre-MOT inspection (many garages do this free or very cheaply).
3. Tyres (Tread Depth, Pressure & Condition)
Why it fails
Tread depth below 1 mm (legal minimum across central three-quarters of tread on drive axles; 1.6 mm elsewhere — but 2–4 mm recommended for safety)
Incorrect tyre size/load/speed rating
Cuts, bulges, exposed cords or mismatched tyres across an axle
Under- or over-inflation
How to avoid it
Measure tread depth weekly with a gauge (not just the tread wear indicators).
Check cold tyre pressures every week — refer to the vehicle placard or manufacturer specs.
Rotate tyres regularly and replace any showing uneven wear (often a sign of alignment or suspension issues).
Never mix radial and cross-ply tyres on the same axle.
4. Suspension & Steering
Why it fails
Worn or broken road springs, shock absorbers, bushes or kingpins
Excessive play in steering components
Leaking power steering fluid
Damaged or insecure axles/suspension mounts
How to avoid it
Listen for knocks or clunks when driving over bumps.
Have suspension components visually inspected during every service.
Replace worn bushes and shocks proactively — they rarely fail suddenly but cause progressive wear elsewhere.
Check steering free play (should be minimal) and power steering fluid level monthly.
5. Exhaust Emissions & Smoke
Why it fails
Excessive smoke (black, white or blue)
Opacity reading above permitted limit on diesel vehicles
Missing or damaged exhaust components (DPF, EGR, silencers)
How to avoid it
Use quality diesel and additives to keep injectors clean.
Never ignore a DPF warning light — get it diagnosed immediately.
Schedule regular engine diagnostics to catch EGR or injector faults early.
Avoid short runs that prevent DPF regeneration — longer motorway runs help.
Bonus: General Pre-MOT Preparation Tips
Book a professional pre-MOT inspection 4–6 weeks before your test date — this gives time to fix issues without rushing.
Clean the vehicle thoroughly — inspectors can fail for excessive dirt obscuring components or number plates.
Ensure all documentation is ready: V5C, plating certificate, tachograph calibration certificate, previous MOT.
Present the vehicle at a DVSA-approved test station with a clear windscreen and accessible test points.
Burton advantage
We offer comprehensive MOT preparation packages, including full vehicle inspection, necessary adjustments, and — if required — presentation of your HGV or trailer at the test centre on your behalf. Our technicians know exactly what examiners look for.
Book your pre-MOT check today – avoid downtime and fines.
Call our team now on 07837 327 470 (available 24/7) or use the quick enquiry form on our Contact page.
Let us help you pass first time and keep your fleet earning. Safe driving!